Galaxy-ChIPseq流程
这篇文章介绍如果把ChIPseeker搬上galaxy,和galaxy上其它软件一起拼成流程,跑一个ChIPseq注释的流程,从fastq文件开始,比对生成bam文件,peak calling生成bed文件,基因组注释,一个完整的流程,这个流程一旦设置好,每次跑都只是点点鼠标就可以了。 本文额外附送:
- 如何把R程序变成命令行程序
- 如何把命令行程序搬上galaxy (知名的程序都有人搬好,但自己的程序还是需要学一下怎么配置的)
Galaxy可以说是低端生信从业者杀手,如果你的能力只是跑跑流程,galaxy完全可以取代你的工作。
如果你是苦逼的生物研究生,苦于要自己分析数据,不会跑命令行程序,对各种参数表示晕菜,galaxy也是拯救你的神器,如同有个做生信的人在旁边帮助你,参数你点点菜单就可以了,跟程序变运行又可以了,流程自己都可以设计并一键运行。
安装galaxy
- requirements: python 2.7 and git
- only three steps
克隆galaxy项目
git clone https://github.com/galaxyproject/galaxy/
cd galaxy
## switch to master branch, stable release
git checkout -b master origin/master
安装
cd galaxy/config/
cp galaxy.ini.sample galaxy.ini
编辑_galaxy.ini_文件
- find the line: admin_users
- remove the # and add an email for your account
运行
# go back to galaxy folder
cd ..
sh run.sh
然后就可以用浏览器打开http://localhost:8080,使用galaxy,就是这么简单。
ChIP-Seq workflow
让我们来重温ChIPseq分析的流程:
- quality control using FastQC
- short reads mapping using Bowtie2
- peak calling using MACS
- peak annotation using R package ChIPseeker
通过Tool Shed安装软件
你可以浏览分类,这里我搜索一下bowtiew 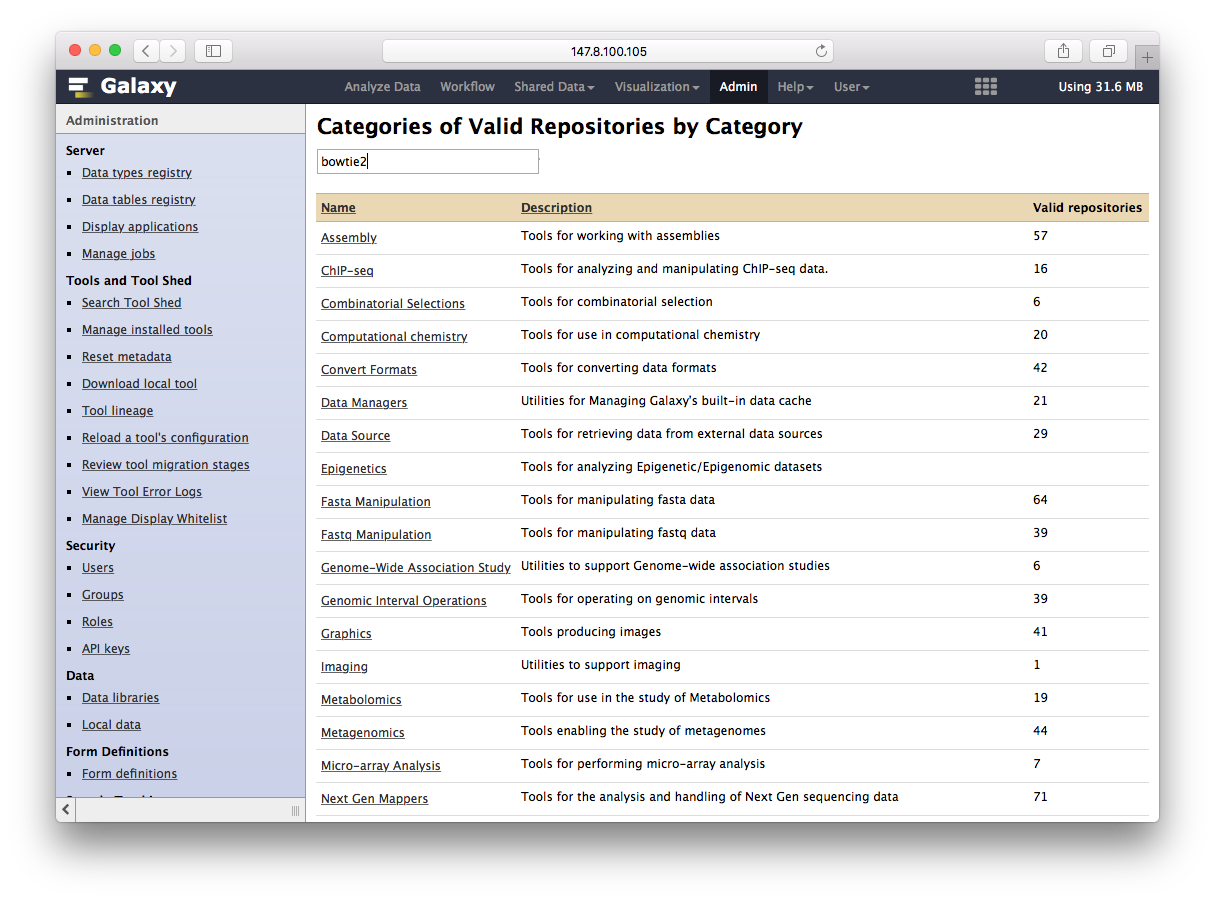
通过Tool Shed安装软件
搜索的结果出来不同的版本,我们选择需要安装的版本,点预览和安装
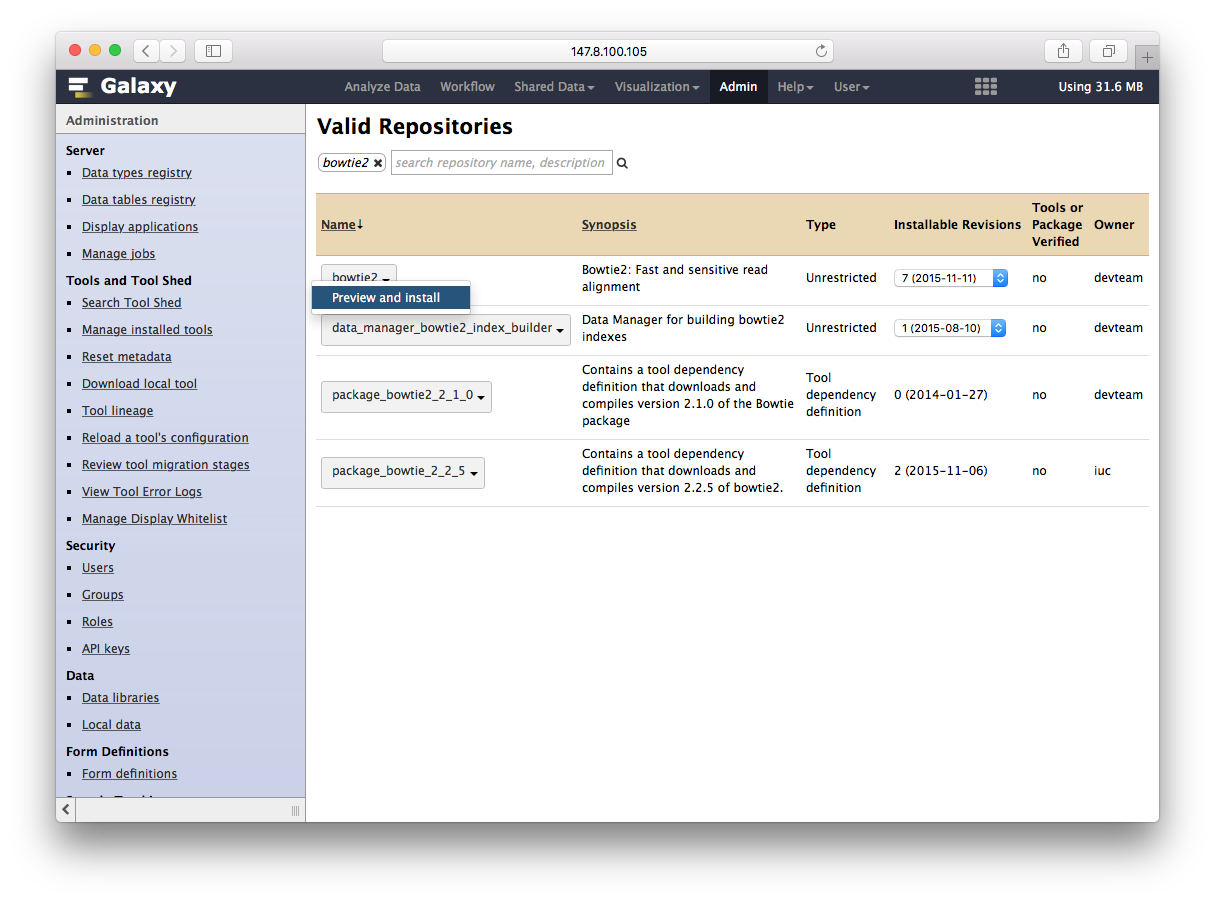
通过Tool Shed安装软件
再点安装到galaxy完事

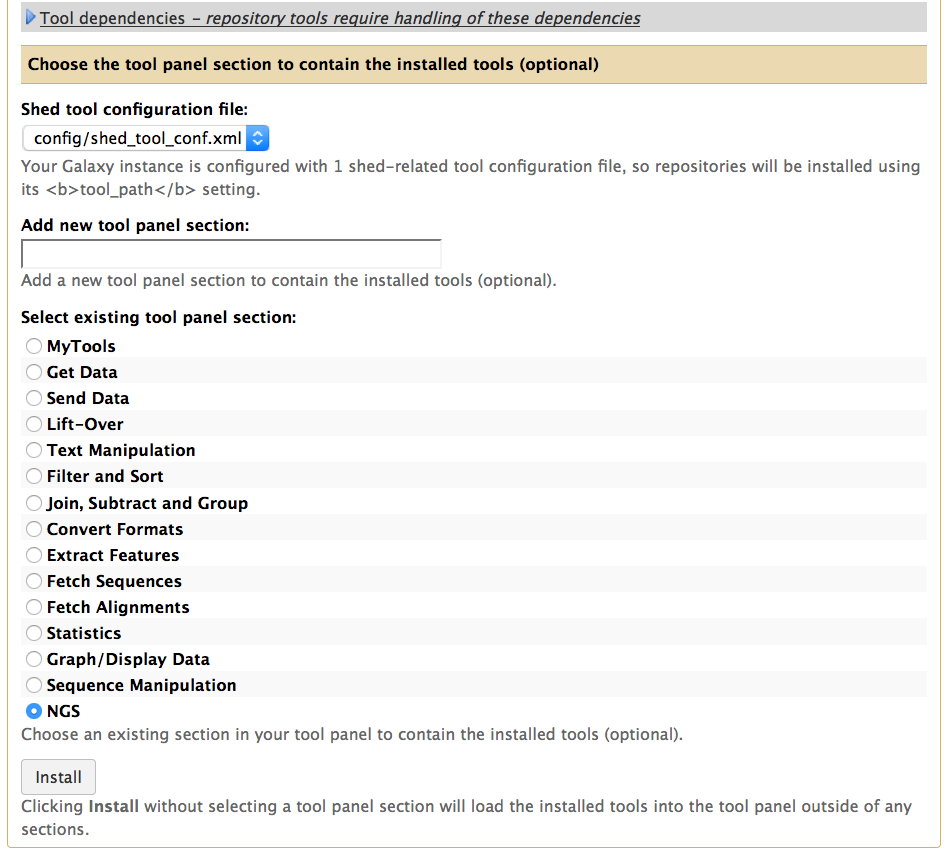
通过Tool Shed安装软件
你可以为安装的软件设置分类,这里我选择NGS
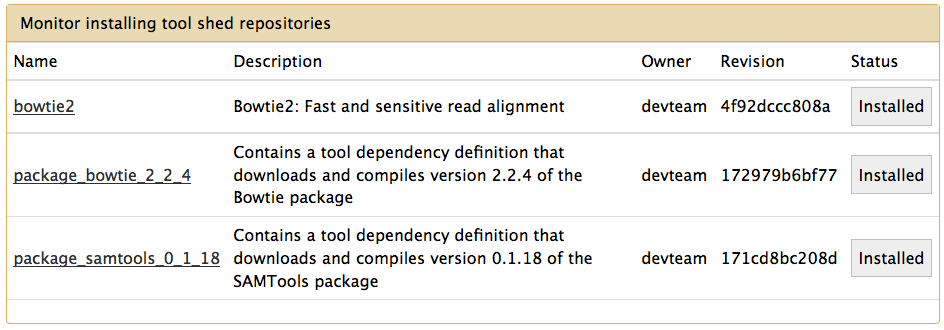
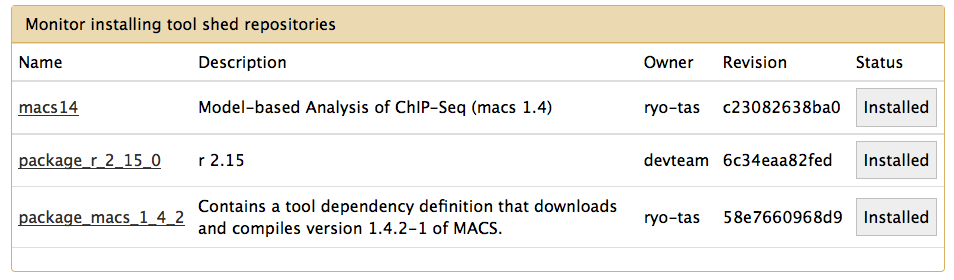
通过Tool Shed安装软件
我们为这个流程安装了bowtie2, macs14和R等工具。
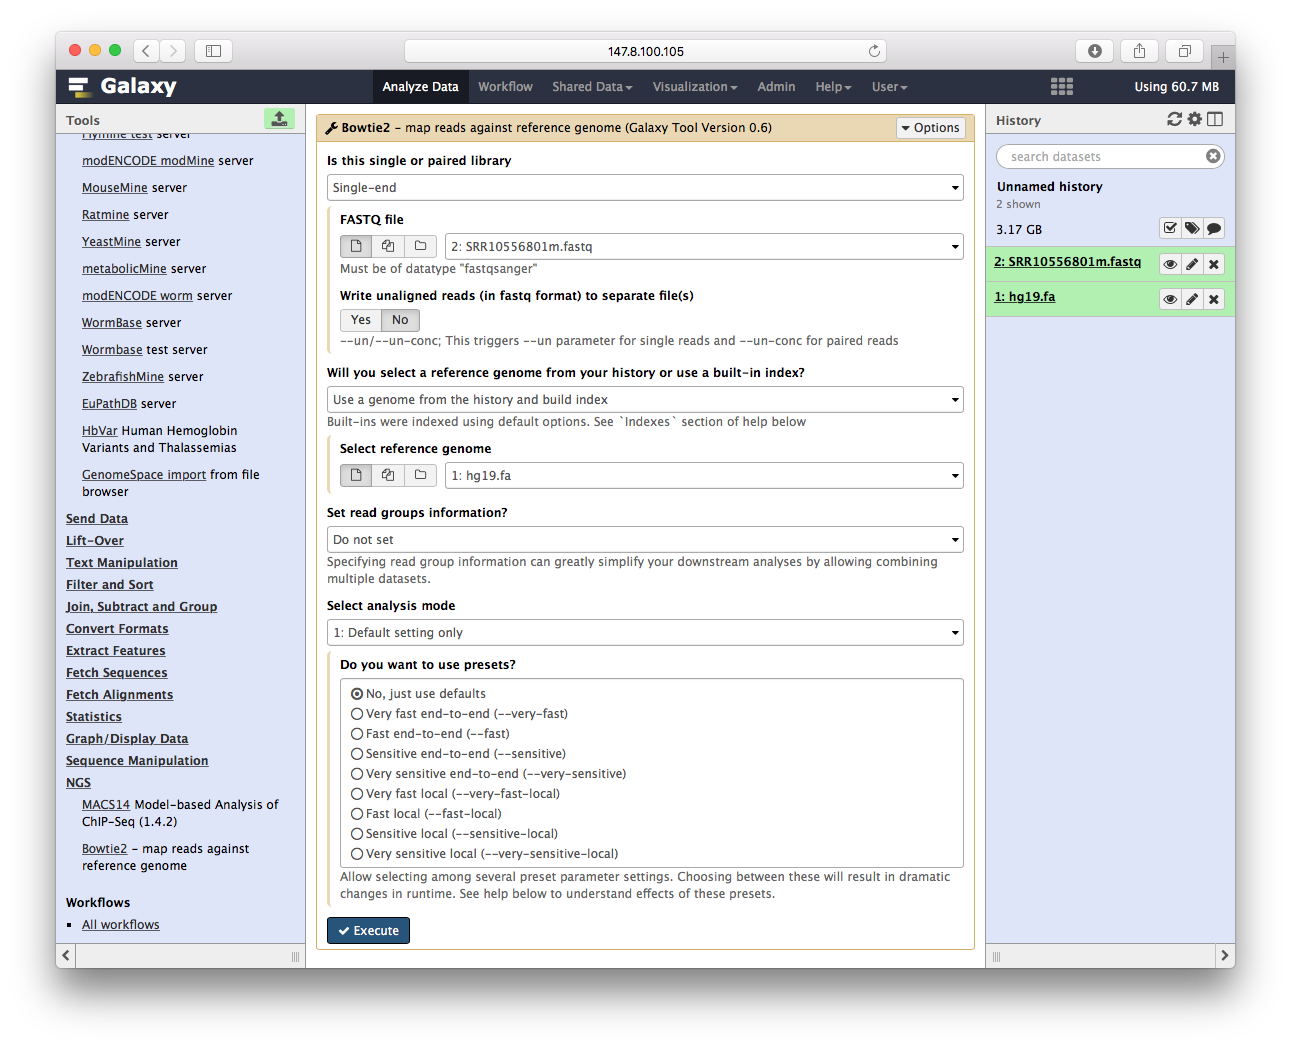
Bowtie2比对序列
这里我们可以看到,所有参数,都变成了菜单,先第一个让你先单端还是双端,第二个让你选fastq文件等等,选好参数后,点执行,开始跑bowtie2
Bowtie2比对序列
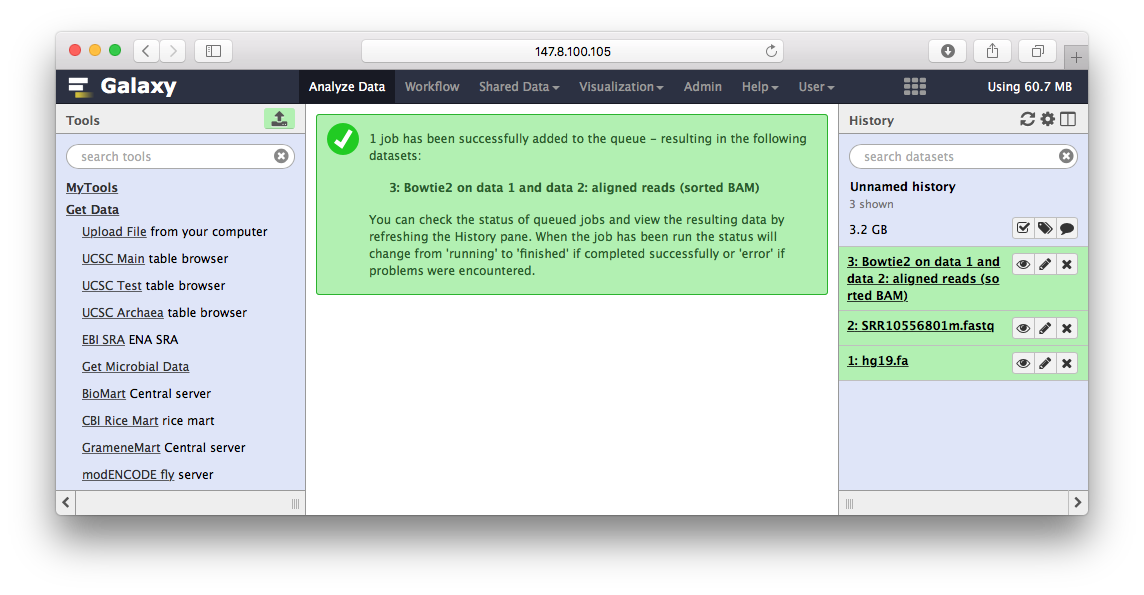
当运行结束后,我们可以看到右边文件这块,除了参考基因组hg19.fa,我们的输入fastq文件之外,还多了一个BAM文件,这就是最后的比对结果:
Peak Calling
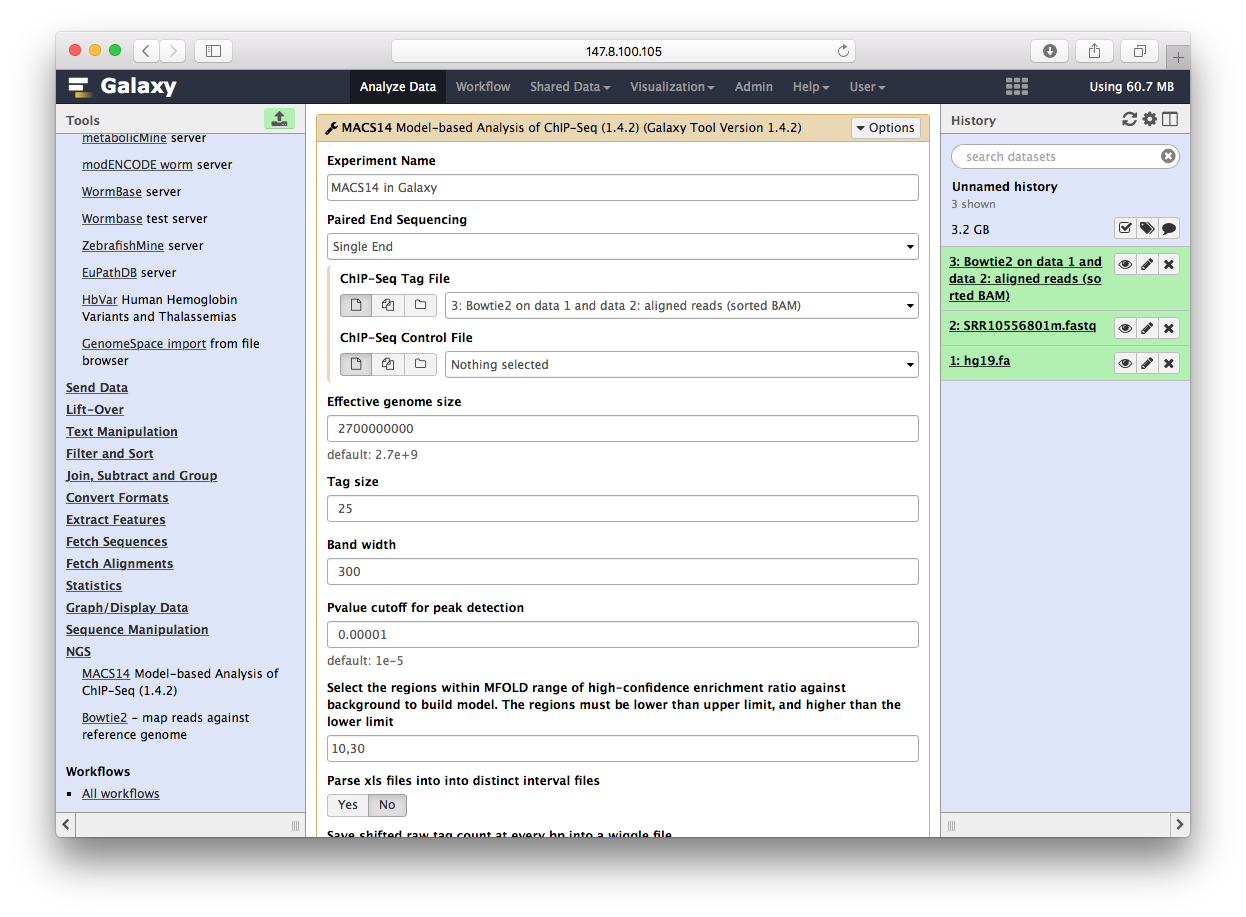
用MACS14来跑peak calling,一样操作也变成了菜单:
Peak Calling
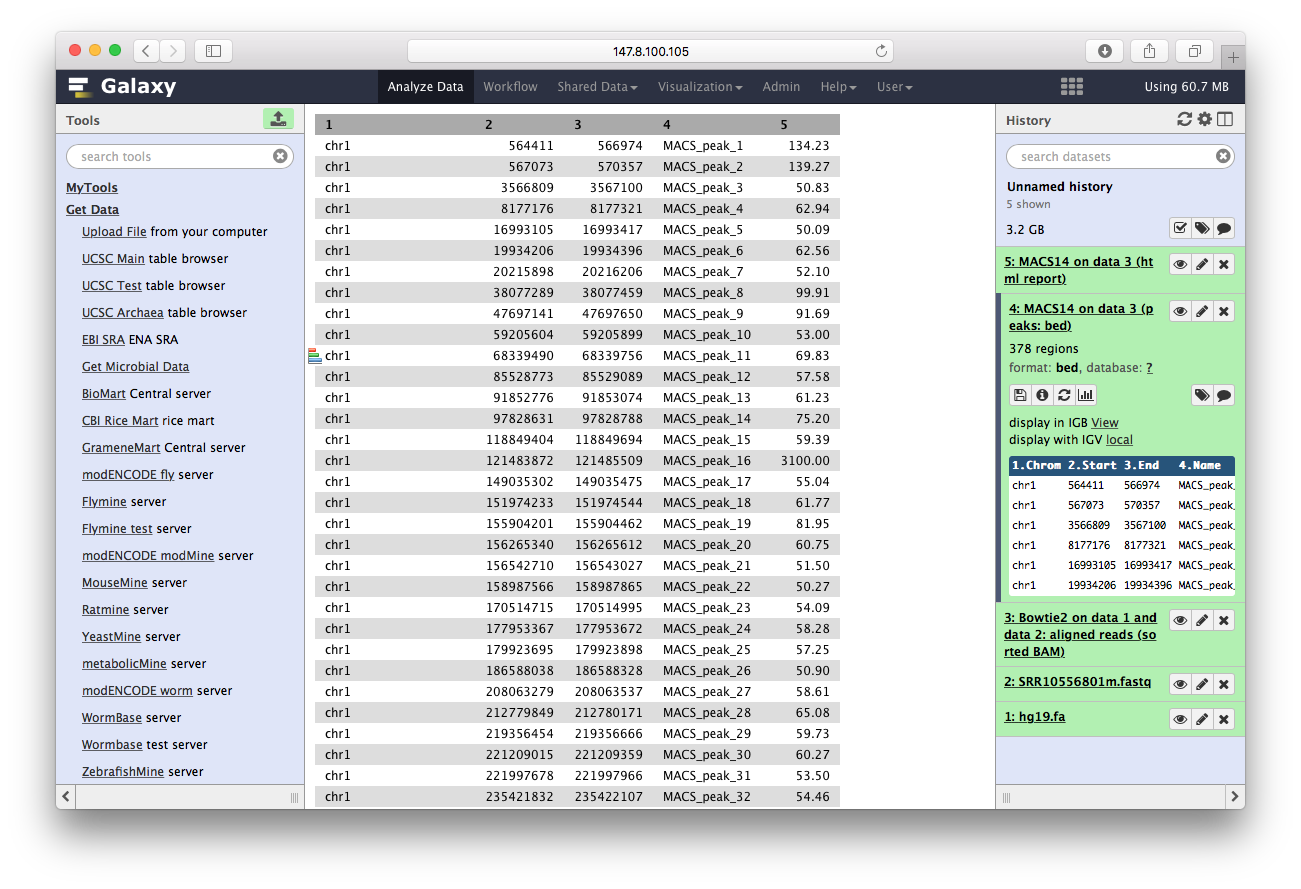
而结果,可以直接在galaxy里查看:
最后我们用ChIPseeker来注释
这是R包,不是命令行程序,没办法直接在galaxy里面调用,我们首先可以包装一下:
annotatePeak
#!/usr/bin/env Rscript

library("optparse")
option_list <- list(
    make_option(c("-i", "--input_file"), help="input bed file"),
    make_option(c("-o", "--output_file"), help="output file")
    )
opt <- parse_args(OptionParser(option_list=option_list))

library(ChIPseeker)
## using default parameter to simplify this example
res <- annotatePeak(opt$input_file)
write.table(as.data.frame(res), file=opt$output_file, sep="\t")
这样子就造出了一个命令行的annotatePeak
$ ./annotatePeak -i GSM1295076_CBX6_BF_ChipSeq_mergedReps_peaks.bed.gz \
  -o annotatePeak_test.txt
>> loading peak file...				         2015-11-13 12:22:24
>> preparing features information...		 2015-11-13 12:22:24
>> identifying nearest features...		     2015-11-13 12:22:25
>> calculating distance from peak to TSS...	 2015-11-13 12:22:25
>> assigning genomic annotation...		     2015-11-13 12:22:25
>> assigning chromosome lengths			     2015-11-13 12:22:39
>> done...    					             2015-11-13 12:22:39
Warning message:
In loadTxDb(TxDb) :
>> TxDb is not specified, use 'TxDb.Hsapiens.UCSC.hg19.knownGene' by default...
定义XML
使用Galaxy界面化,我们需要定义参数、输入、输出等等,通过XML文件来指定:
cd galaxy/tools
mkdir mytools
vim annotatePeak.xml
我们编辑annotatePeak.xml文件,内容如下:
<tool id="annotatePeak" name="annotatePeak" version="1.0">
	<description>annotate ChIP seq data (BED file)</description>
	<command> annotatePeak -i $input -o $output > $output_log </command>
	<inputs>
	  <param name="input" type="data" format="bed"
		 label="BED file of ChIP peaks"/>
	</inputs>
	<outputs>
		<data name="output" format="bed"/>
		<data name="output_log" format="txt"/>
	</outputs>
	<stdio>
		<exit_code range="1:" level="fatal" />
	</stdio>
	<help>see http://www.bioconductor.org/packages/ChIPseeker
	      for details and examples</help>
</tool>
配置Galaxy工具
把我们的配置加进去,这样就可以在galaxy里面用ChIPseeker了。
cp config/tool_conf.xml.sample config/tools_conf.xml
vim config/tool_conf.xml
加入以下内容:
<section name="MyTools" id="mTools">
  <tool file="mytools/annotatePeak.xml" />
</section>
最后需要重启galaxy。
Peak annotation
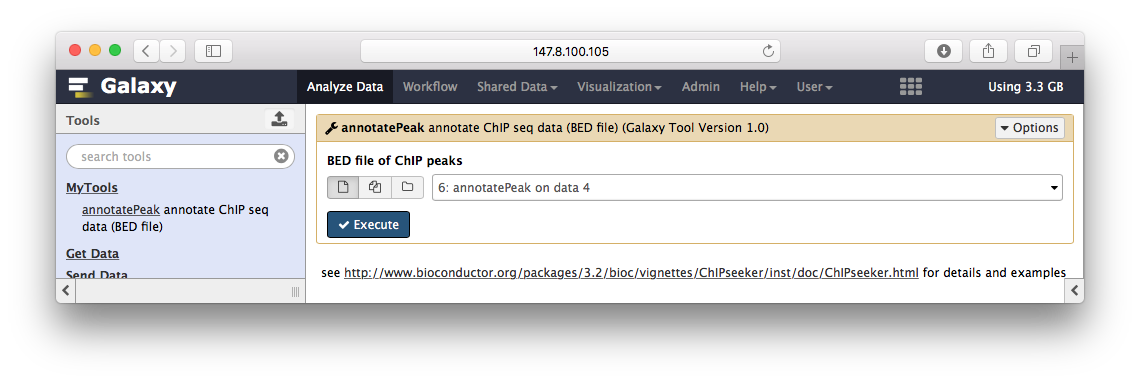
Peak注释
ChIPseeker的annotatePeak华丽丽登上galaxy,这里只是演示,所以我简化了参数,只有BED文件输入,其它默认:
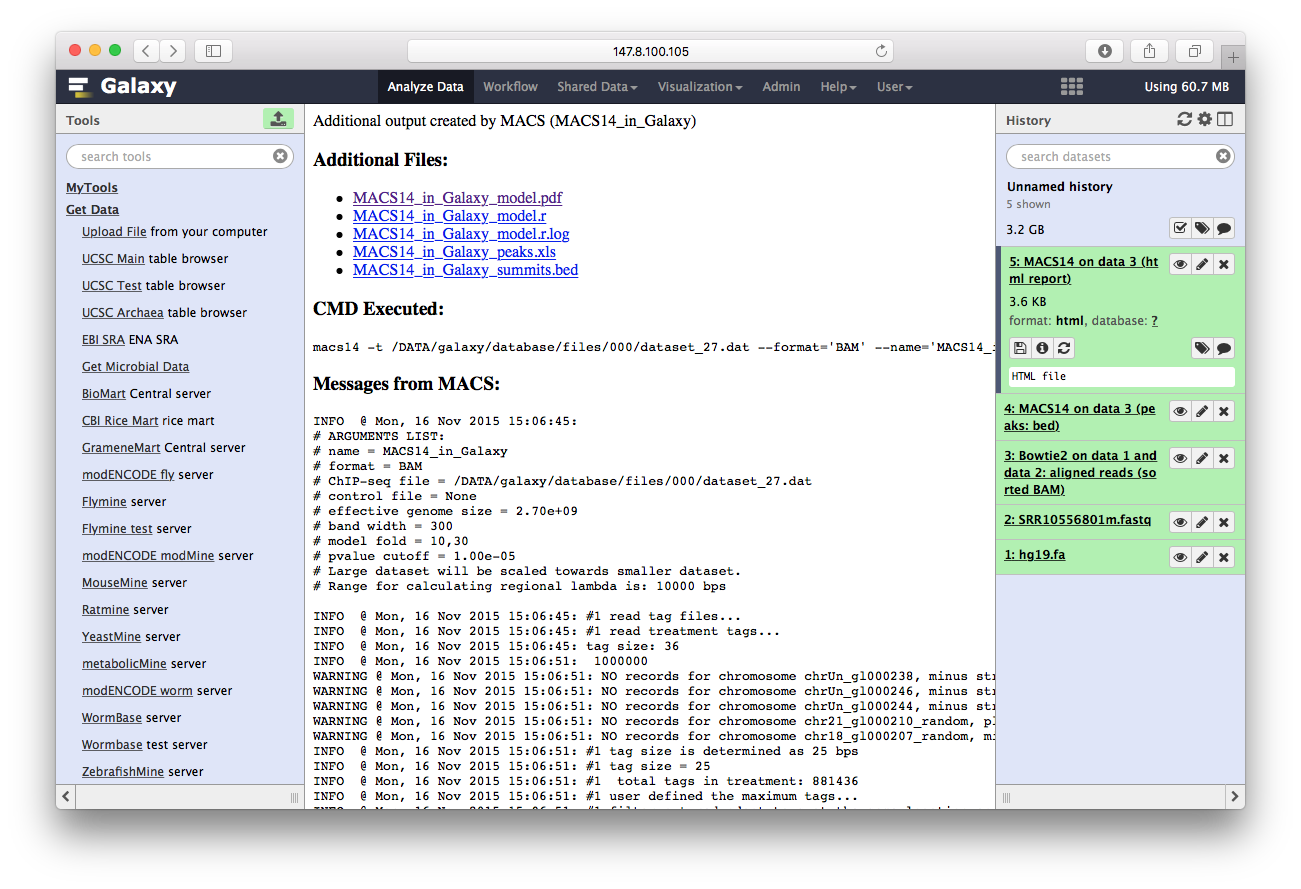
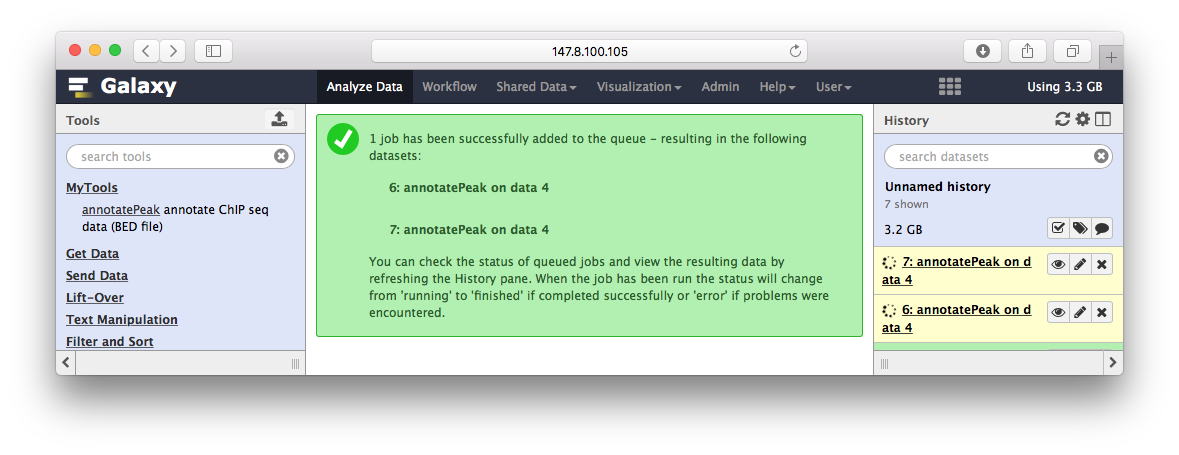
运行完之后,输出文件显示在右边:
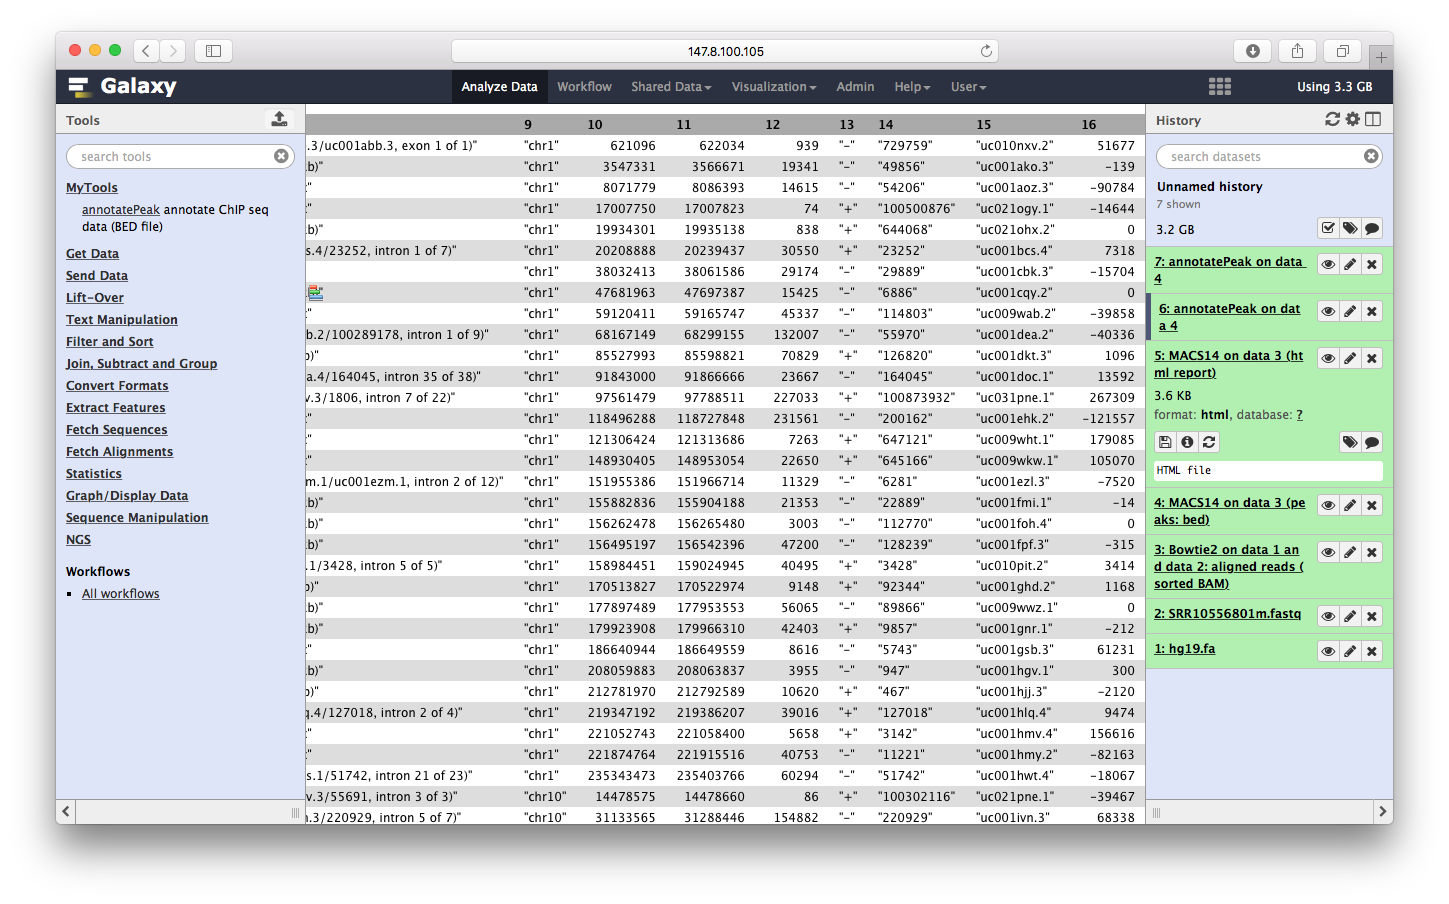
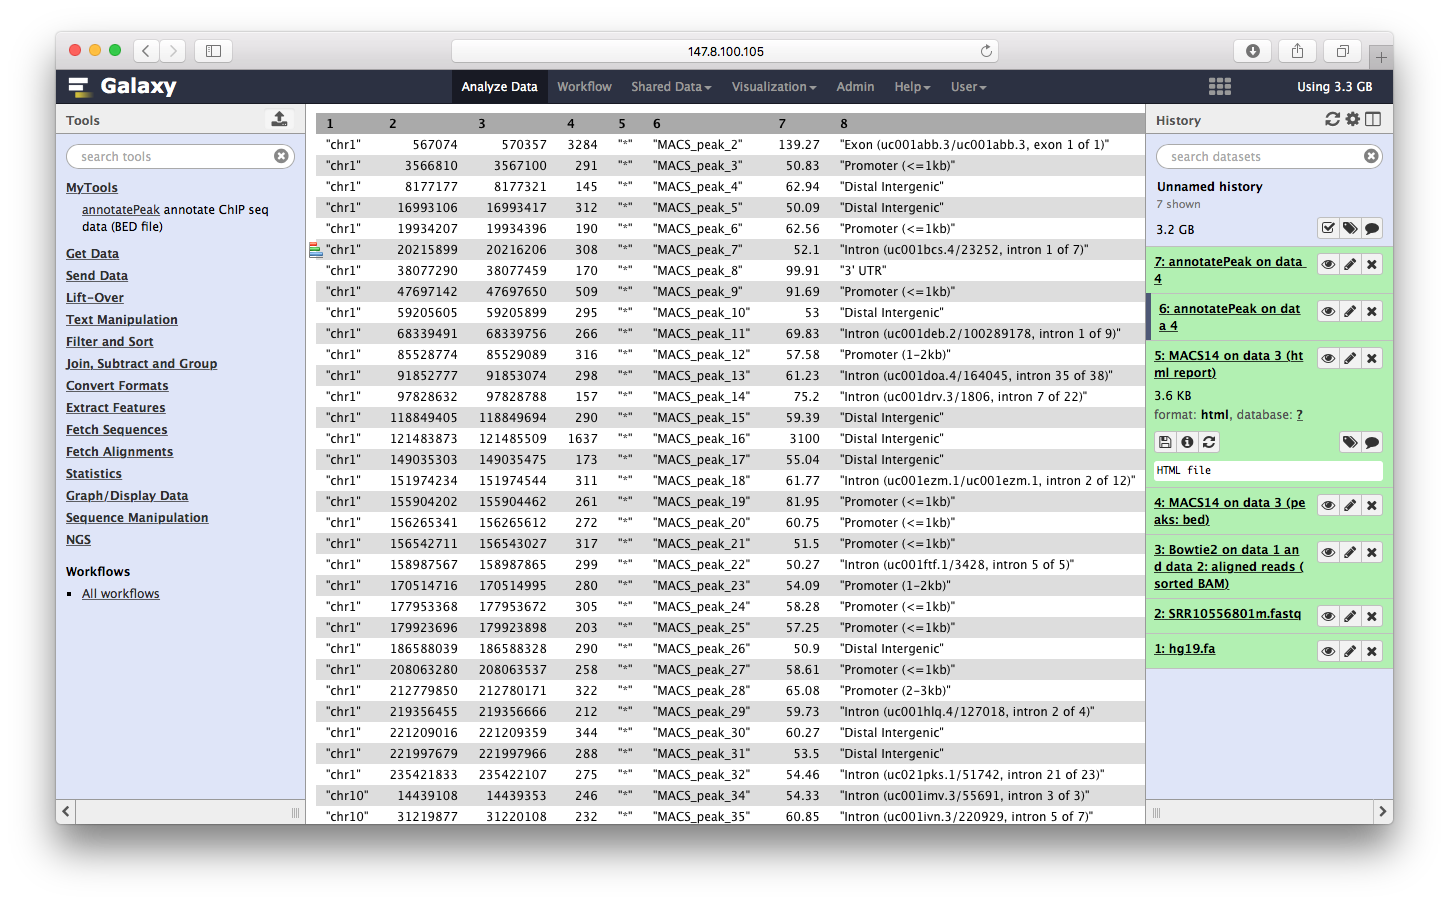
我们可以点击查看:

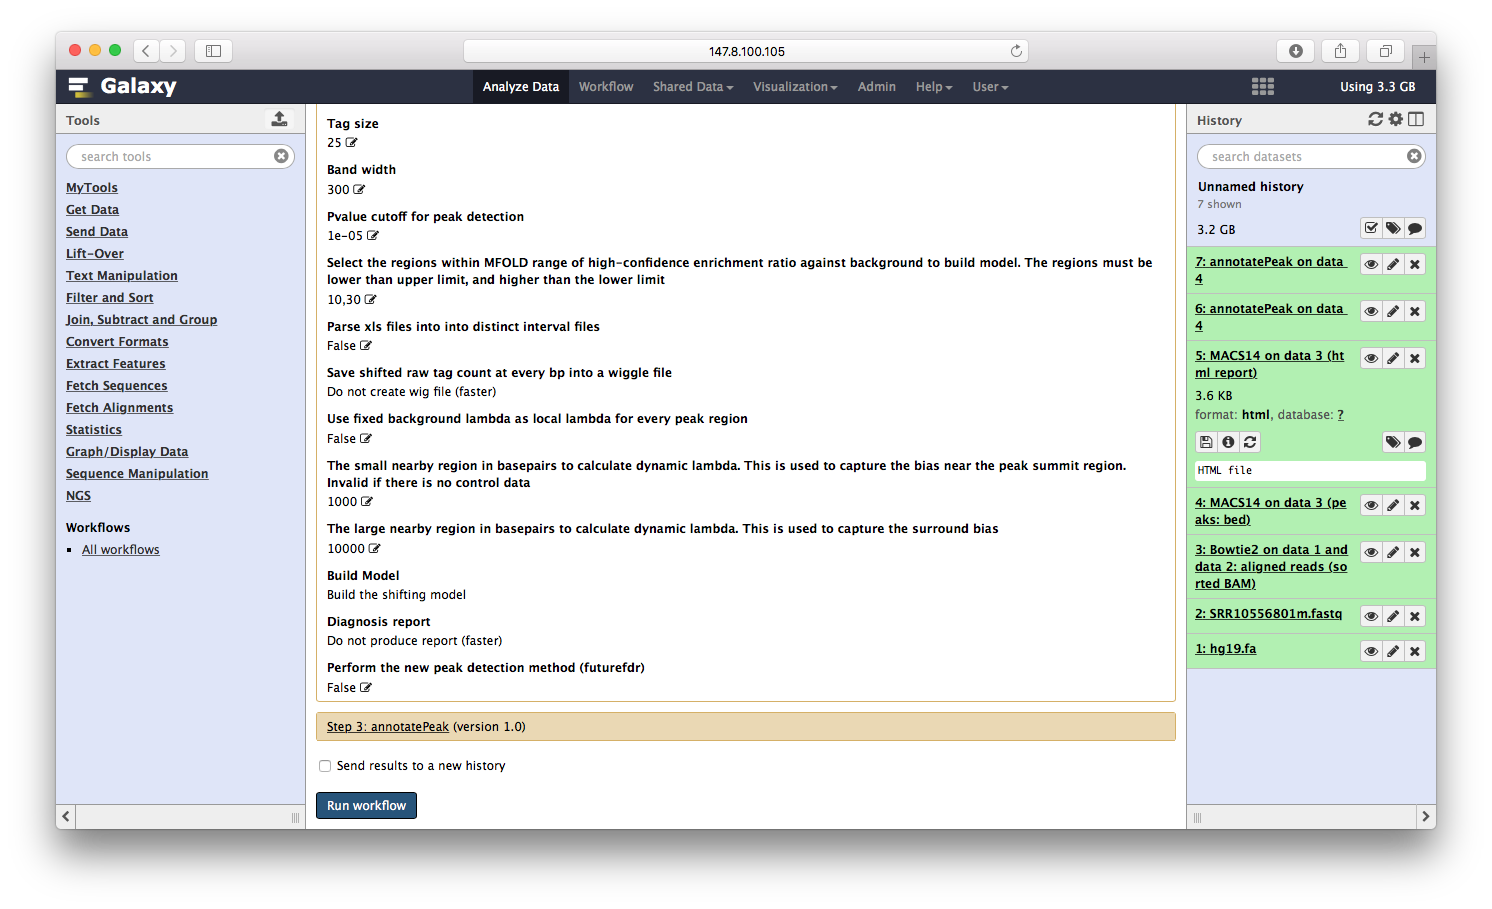
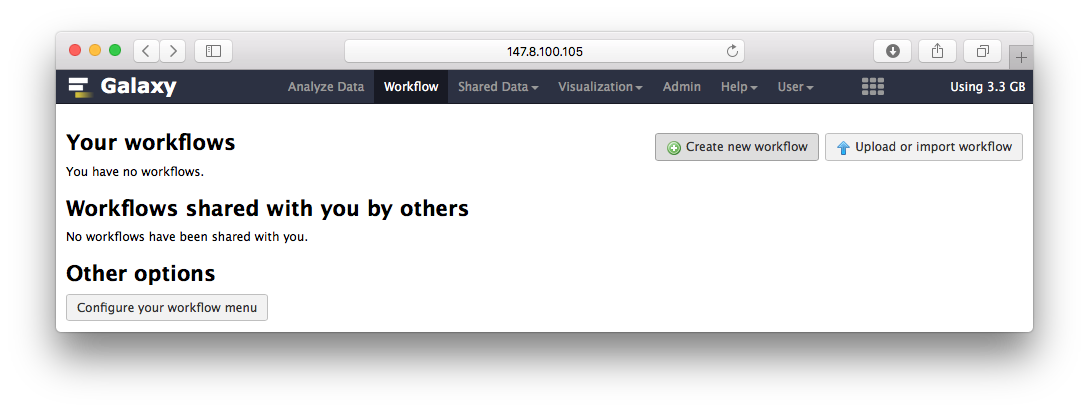
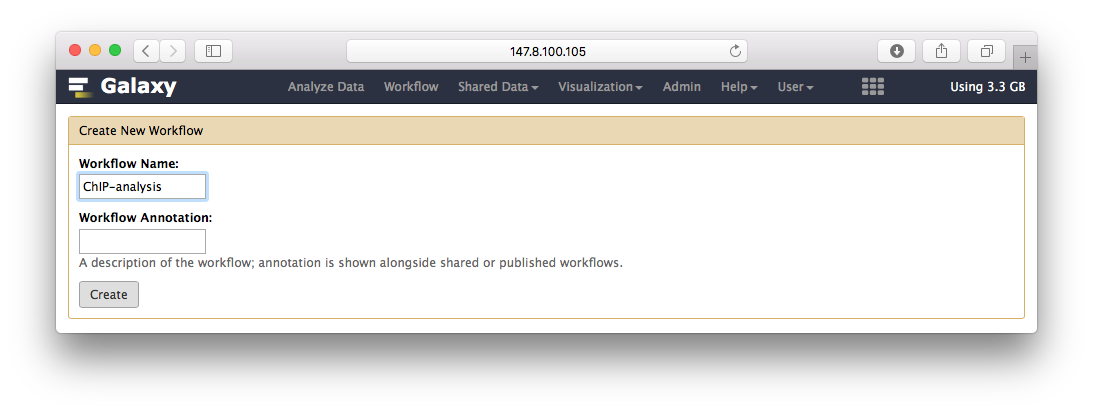
构建流程
前面演示了bowtie2->macs14->ChIPseeker这三个步骤,前者的输出是后者的输入,这是一个ChIP注释的流程,我们可以构建一个流程,自动化这一过程,首先创建流程:
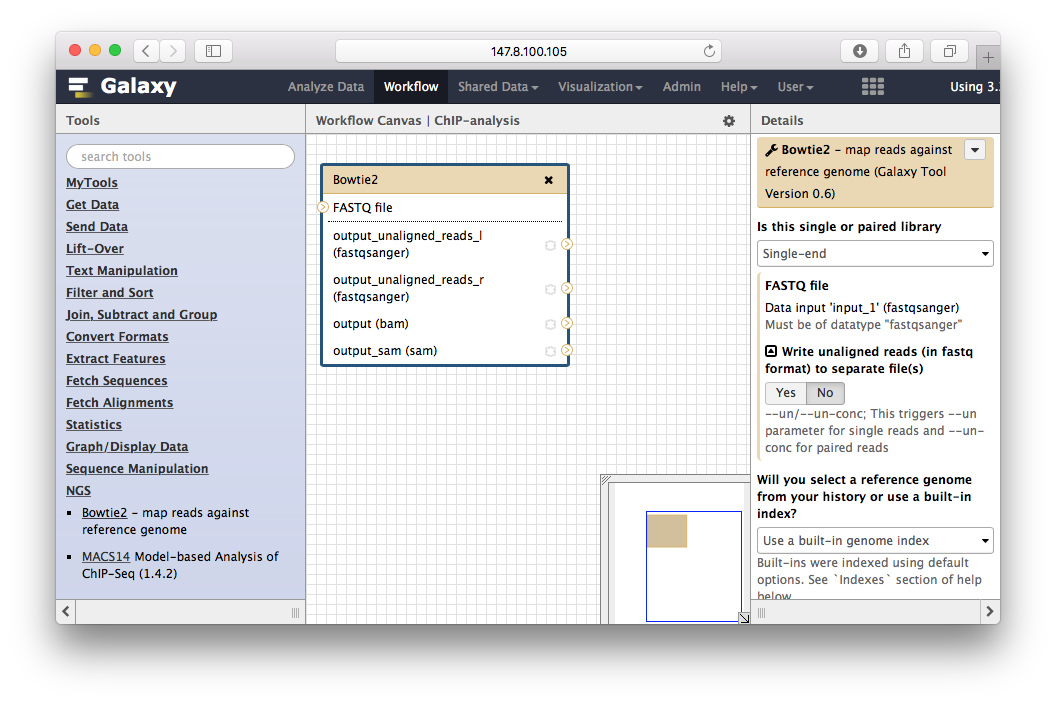
把工具加进来:
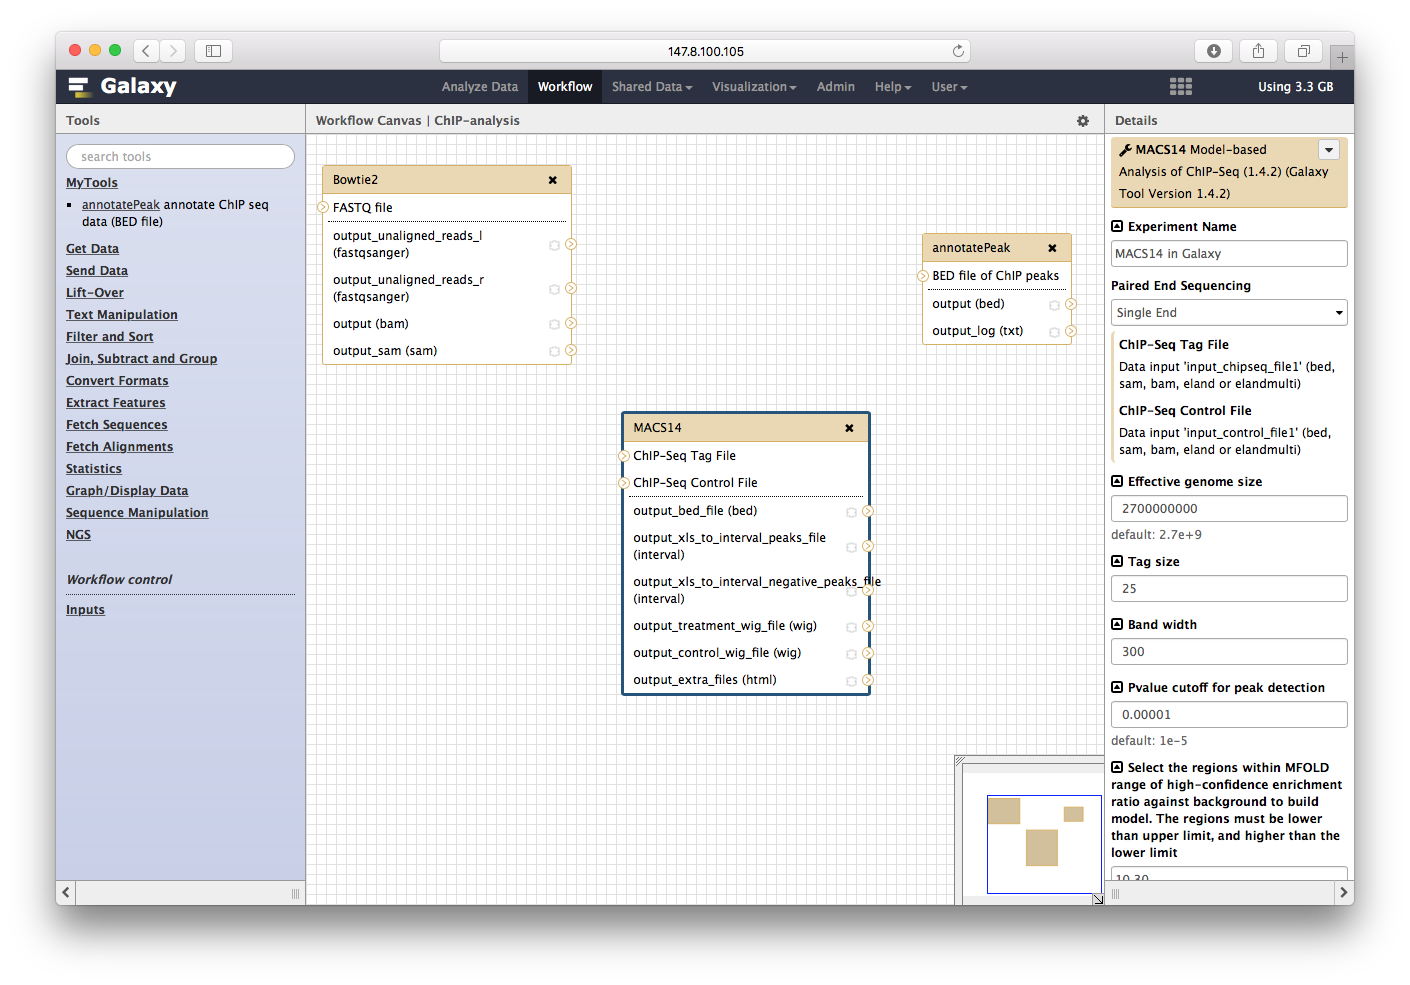
步骤连接好:

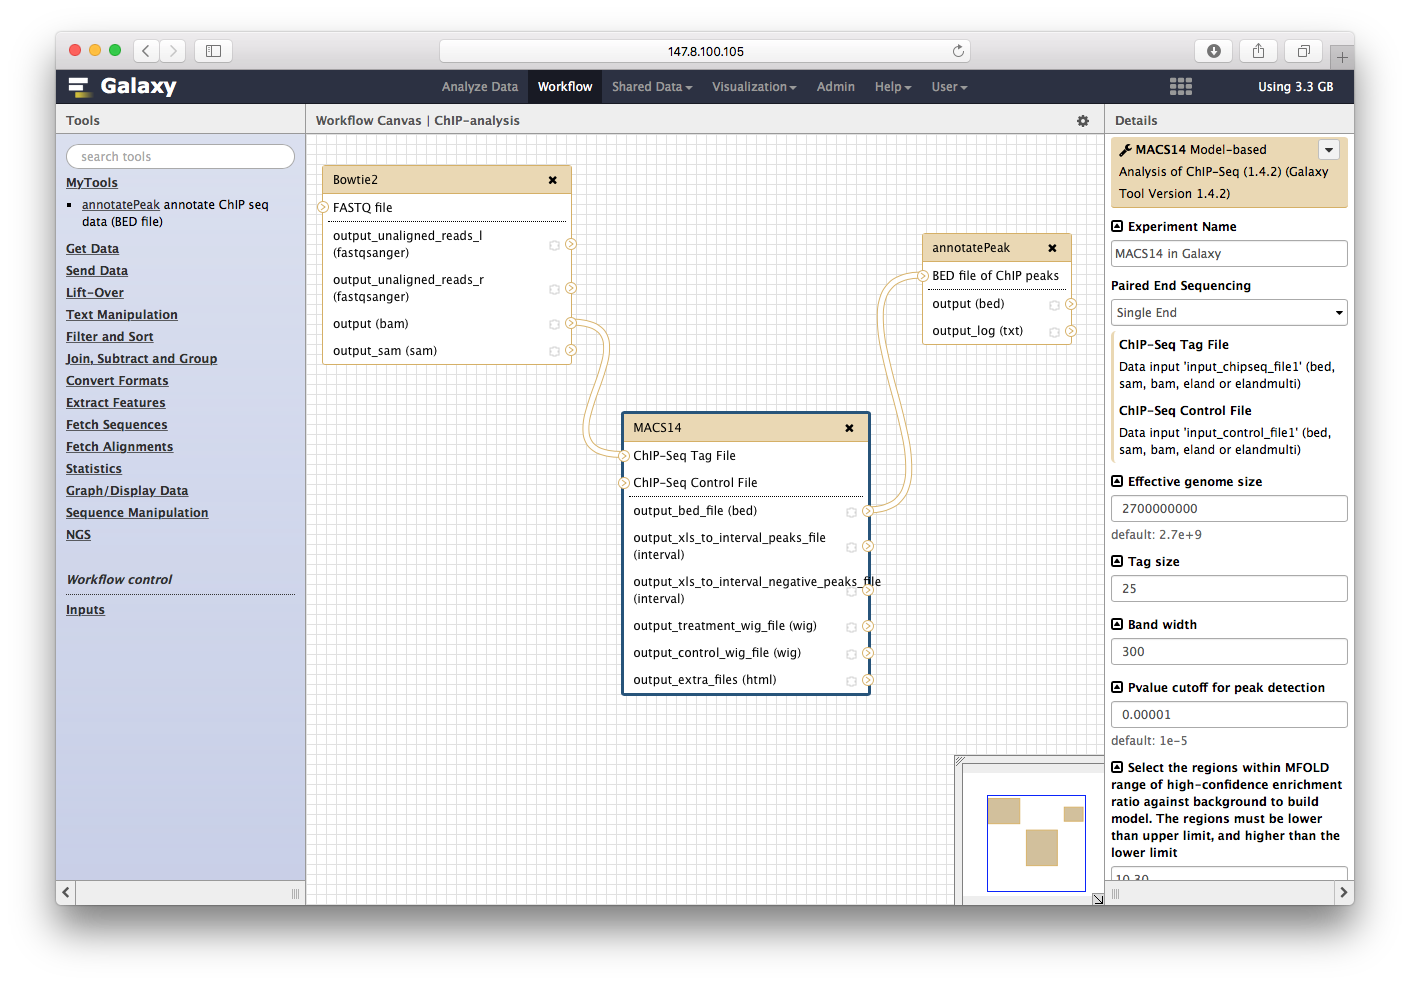
点击保存:
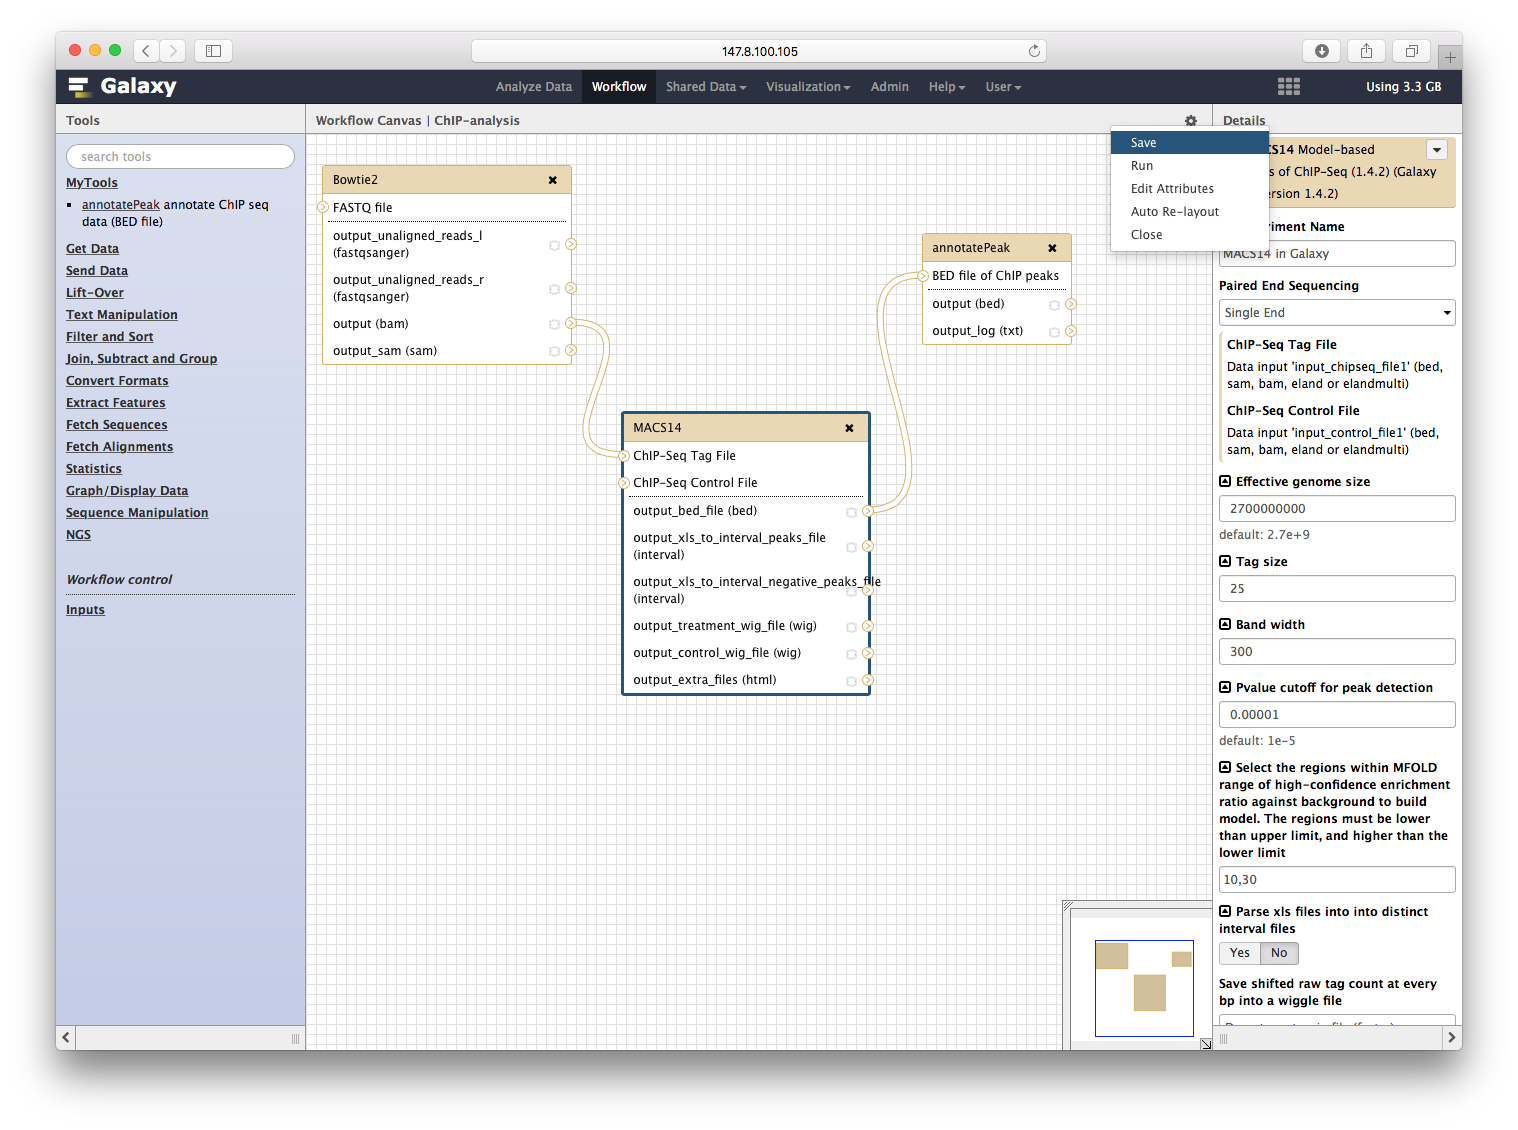
点击运行,就可以同时运行三个程序:
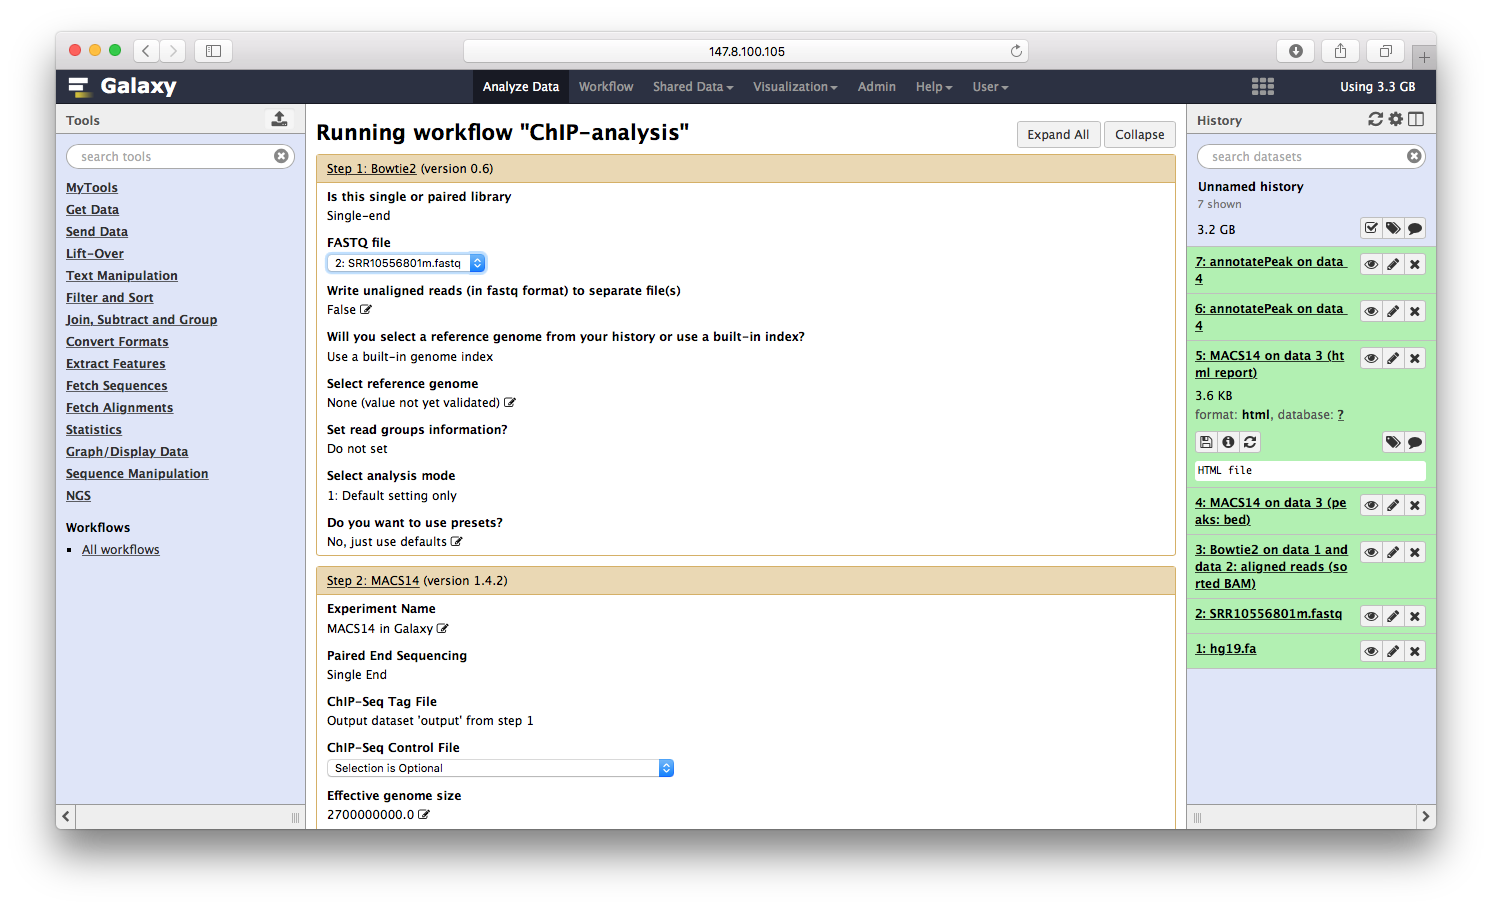
所有的参数,一步步设定之后,运行流程,就可以喝着咖啡等结果了。